Layout: Sections
The website page is composed of several sections stacked vertically each have several blocks to serve a single purpose, like showcasing a previous work or show the contact information.

Add Sections
- To add a section, Click on any '+ Add Section' buttons that appears between existing sections when you hover over them, this will launch the Sections Catalog.
- Browse the sections catalog, sections thumbnails are categorized and appear with your current website design settings like Color Scheme.
- Hover over thumbnails and Click 'Add Section' button to add the section to your page.
Your saved sections from any website or page will appear under '★ My Sections' Category.

Section Menu
Hover over any section to show the Section menu, use the Section Menu to manage the section.
Delete Sections
- Click on the bin icon
 in the section menu to delete the section.
 - Press Ctrl+Z to undo any action including section delete.
- The page must contain at least one section, so if you have only one section the bin icon will not appear in the section menu.
- You can't delete the footer section, so the bin icon will not appear in the section menu.
Change Order of Sections
- Use the arrows icons
 to change the order of an section.
 - The first section's menu will not show the top arrow and the last section's menu will not show the down arrow.
- You can't change order of the footer section, so the arrows icons will not appear in the section menu.
Clone Sections
- Use the clone icon
 to duplicate a section.
 - The cloned section will have the same properties of the source section, only the cloned section label will have an incremented number postfix (section label must be unique in the page).
- You can't clone the footer section.
Section Settings
Click on the gear icon on the Section Menu to open Section Settings.
Container Width
Switch between fluid width and Fixed width. Fixed containers have a set maximum-width, meaning they remain the same maximum width regardless of the screen or browser window. On the other hand, fluid containers adjust their width to fill the screen size
Fixed Container: After certain width, the content area width will not expand any more.
Fluid Container: the content width will expand to fill the window width.

Minimum Height
Setting a minimum height for a section helps ensure it expands beyond its content size. For instance, in this hero section, we have a brief text and a button, but to emphasize the message, we set the minimum height to 100% to cover the entire browser window.
Minimum height works in conjunction with content vertical alignment, in this example, we set the vertical alignment to bottom.

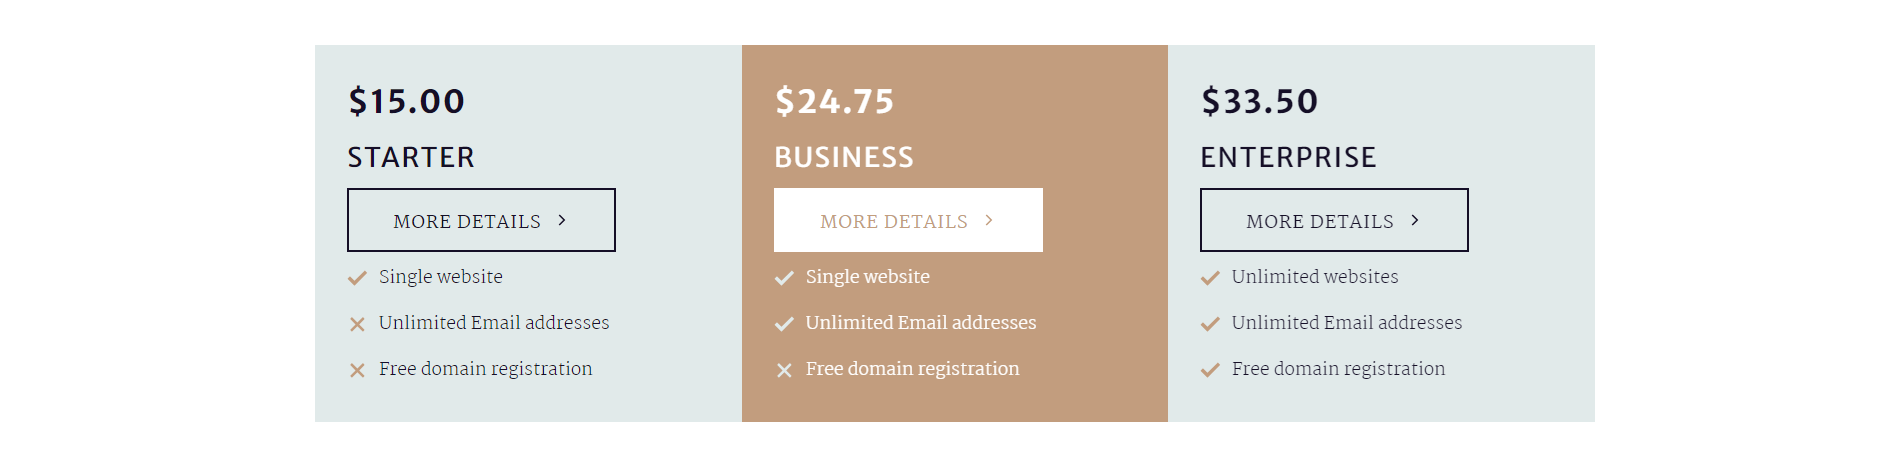
Minimum height set to 100%: The section height fill the entire screen even if the content height is small. Vertical alignment set to center, so the pricing table is centered in the section.

Minimum height set to 0%: The section height will expand only to the content's height. here, the vertical aligment has no effect.

Padding
Padding represents the inner space surrounding the inner sides of the section.
No Padding: In this example, the padding is removed (set to No Padding) and the content (the 3 columns) are extended to the section edge.
Content Alignment
You can align content horizontaly if the content width is smaller than the container width and vertically if the content height is smaller than section height.
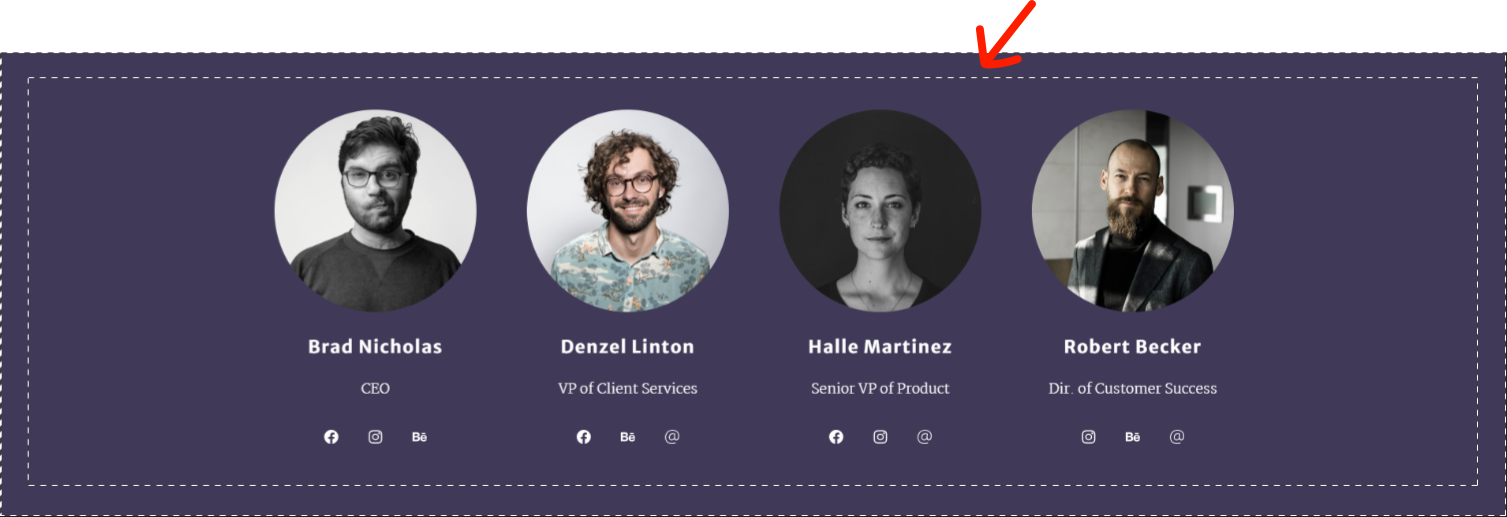
In this example, section minimum height and content width set to 60% and content alignment set to left and bottom.
Content aligmenet properity is responsive.

Save Section to Sections Catalog
In Section Editor, Click 'Add Section to ★ My Sections' button:

The section will appear under '★ My Sections' category in Sections Catalog.

Section Label
Section label is custom name given to a section to identify it so you can point to it in URLs like:
domain.com/some_page/#example
In this case, some_page will be loaded then the browser will be scrolled to the section labeled example.
To make a link in navigation menu or a button scroll down to a section when clicked, choose 'Scroll to section' option for 'On Click' and choose the section from sections menu.

Button Shape
Instead of a straight line connecting sections, you can choose from a customizable shapes to create a more dynamic and engaging experience to web pages.